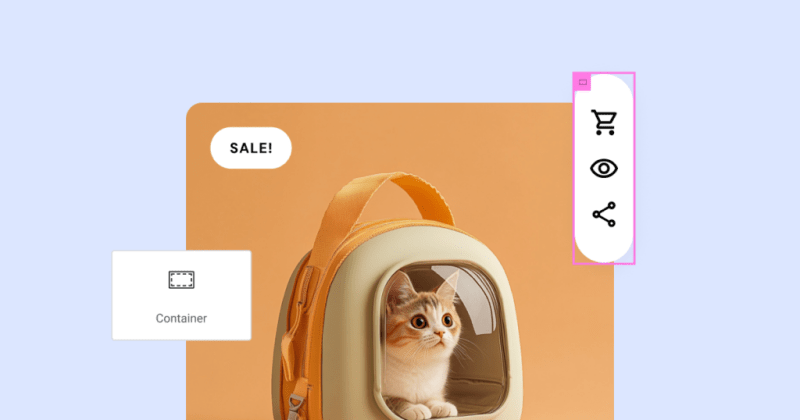
In today’s competitive eCommerce world, creating an engaging user experience is key to driving sales. With Elementor AI, you can take your WooCommerce product grids to the next level by adding dynamic hover actions – without writing a single line of code. This tutorial will guide you step-by-step through the process of using Elementor AI to create actionable icons with custom hover effects, making your store both functional and visually appealing.
What You’ll Learn
In this tutorial, we’ll show you how to:
- Add dynamic hover actions to WooCommerce product items.
- Create actionable icons like Add to Cart, Quick View, and Share.
- Use Elementor AI to generate tooltips, custom CSS, and JavaScript for seamless interaction.
- Add smooth animations to enhance the user experience.
Step-by-Step Tutorial
Step 1: Setting up your product item
Before starting, ensure you’ve set up your product item using Elementor’s Loop Grid widget. This widget lets you design custom product templates, giving you full control over the layout and style of each product in your WooCommerce store.
Note: If you haven’t created your product item yet, follow Elementor’s documentation on the Loop Grid widget to set it up.
Step 2: Create a dedicated container for actions
- In the Loop Product Item, add a new container for your actionable icons.
- Design the container to fit seamlessly within your product layout.
- Set the container’s position to “absolute” for precise placement.
- In the Advanced tab, assign a class to the container, e.g., panel.

Step 3: Add actionable icons
Inside the .panel container, add three icons:
- Quick Add to Cart: A button allowing users to add the product directly to their cart.
Tip: Use Elementor’s Custom Field option to link the product ID for functionality. Let me know in the comments if you would be interested in this type of tutorial. - Quick View: An icon that opens an Off Canvas widget showing more product details.
Note: Ensure the Off Canvas widget is pre-configured for your store. - Share: An icon for sharing the product via platforms like WhatsApp.

Step 4: Add tooltips to icons
Use Elementor AI to generate tooltips for the icons:
1. Select the first icon.
2. Go to Custom CSS in the Advanced tab and enter the following AI prompt:
Add a tooltip on the left of the icon with the content of ‘Add to Cart’. The tooltip should have a black background, white text, and a font size of 14px.
3. Repeat for the remaining icons using the Prompt History to save time and adapt the content as needed.
Step 5: Hide the Container by Default
Use Elementor AI to hide the .panel container:
- Go to Custom CSS in the Advanced tab and enter the following AI prompt:
Hide this container.
This ensures the container is hidden unless the user hovers over the product item. While it’s true that the piece of code generated by AI is straightforward and easy to write, the real takeaway is how effortlessly you can integrate AI into your workflow – even for tasks as simple as this. It’s not about the technical challenge but about saving valuable time. Why write the code manually when AI can take care of it for you in seconds?
Step 6: Show the Container on Hover
Generate JavaScript by using Custom Code to make the container appear on hover (avoid using the HTML widget in a dynamic template to prevent conflicts):
1. Go to WP dashboard and under Elementor > Custom Code create a new snippet.
2. Choose


