Let’s talk about sender reputation, and I’m not referring to the reputation you get when your colleague starts ignoring you after 5 consecutive Slack reminders (sorry Raquel 🙏).
Many WordPress site owners are unaware that site emails reach spam because their sender reputation is poor. Often, this issue arises from using shared hosting, where another website on the same server may be sending spam, inadvertently dragging down your reputation.
In this guide, we’re going to dive into practical methods for assessing your site’s email sender reputation and implementing strategies to give it the boost it needs.
What is sender reputation?
Email sender reputation is a score assigned by Internet Service Providers (ISPs) and email filtering systems that reflects the trustworthiness of your email-sending practices.
Sender reputation is based on factors like:
- Engagement rates
- Bounce rates
- Complaint rates
- Technical configurations (e.g., proper authentication with SPF, DKIM, and DMARC)
A strong sender reputation means that your emails are more likely to land in the inbox rather than being filtered as spam, while a poor reputation can severely impact your email deliverability.
Which Scores Can You Get?
- Sender Score:
- Range: 0-100
- Provider: Developed by Return Path (now part of Validity)
- Details: This widely recognized metric evaluates your email-sending IP address based on a variety of factors, such as complaint rates, spam traps, and volume consistency. A score above 80 is typically considered good, while scores below that might indicate potential deliverability issues.
- Google Postmaster Tools Metrics:
- Range: Not a single score, but a suite of metrics including spam rate, IP reputation, domain reputation, and feedback loop data.
- Details: These tools provide detailed insights specifically for emails sent to Gmail users, helping you understand how Google views your sender reputation.
- Microsoft SNDS (Smart Network Data Services):
- Range: Again, not a single score, but detailed data on your sending IP’s reputation, including metrics like complaint rates and spam filtering.
- Details: This service gives you insights into how Microsoft views your email sending practices, which is crucial if you send emails to Outlook.com, Hotmail, or other Microsoft services.
1. Assess Your Current Sender Reputation
Before you can improve your sender reputation, you need to know where you stand. Use dedicated tools to gauge your current performance and identify any issues early on.
Action Steps
- Go to Sender Score
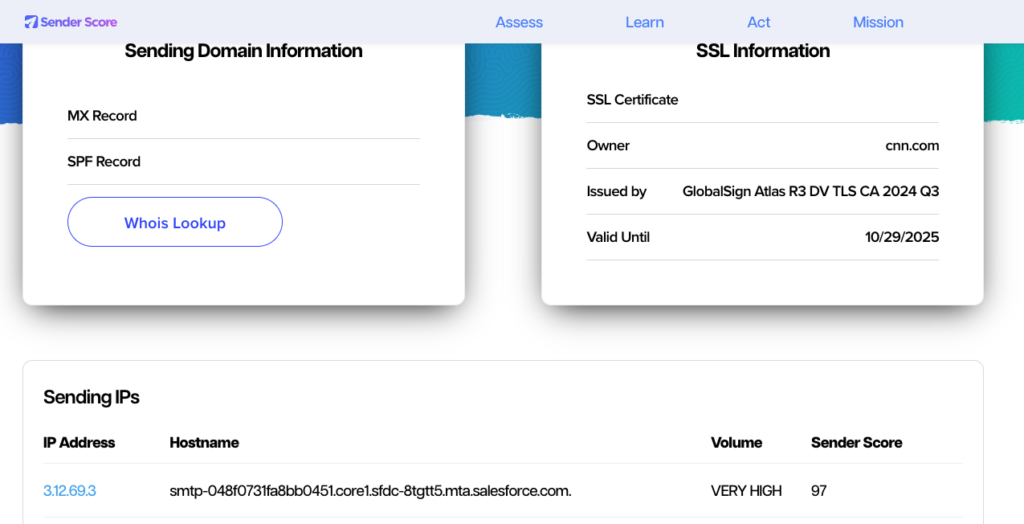
Check your Sender Score (0-100) to get a snapshot of your overall email performance.
- Go to Google Postmaster Tools
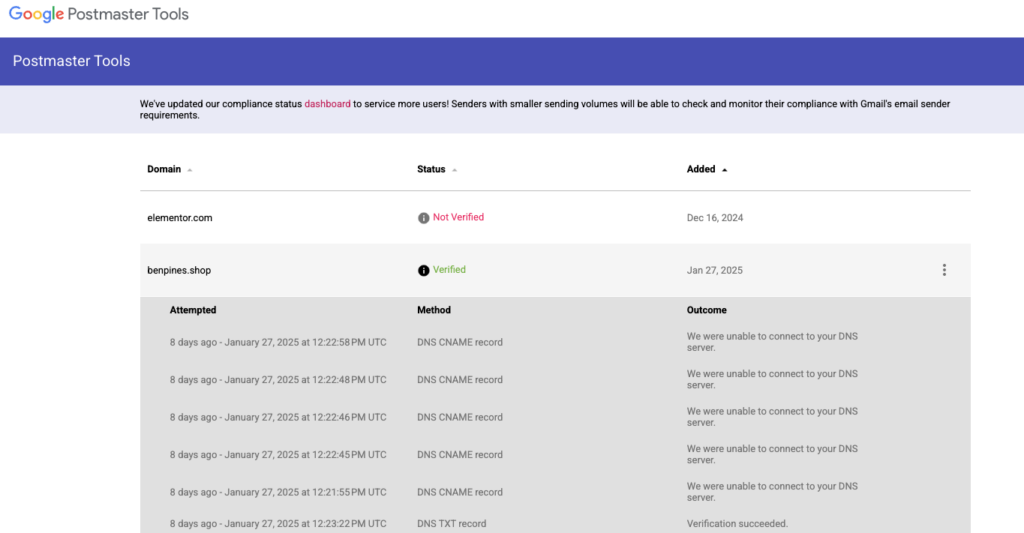
Use this tool to understand how Gmail views your email practices, including spam rates and IP/domain reputation.
How to know if there’s a problem with sender reputation?
You can recognize something is wrong with your sender reputation by noticing these indicators:
- High Bounce Rates:
A high number of bounces suggests that your email list contains outdated or invalid addresses. - Emails Landing in Spam:
If a significant percentage of your emails end up in the spam folder, ISPs are flagging your messages. - Low Open and Click-Through Rates:
Poor engagement metrics indicate that your emails may not be reaching or resonating with your audience. - Blacklisting:
Notifications or findings that your domain/IP is blacklisted signal severe deliverability issues.
2. Install Site Mailer
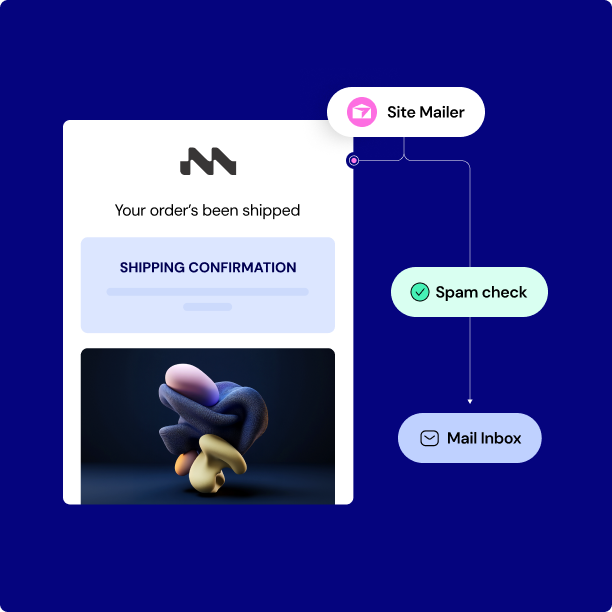
Improving your sender reputation can be as simple as installing the Site Mailer plugin. This hassle-free solution doesn’t require switching hosting providers or making any major changes—just install and let it optimize your email deliverability.
Site Mailer works by routing all your emails through an external service that has been optimized for high deliverability.
Action Steps
- Install Site Mailer
- Monitor your open, click rates and sender reputation
3. Authenticate Your Emails
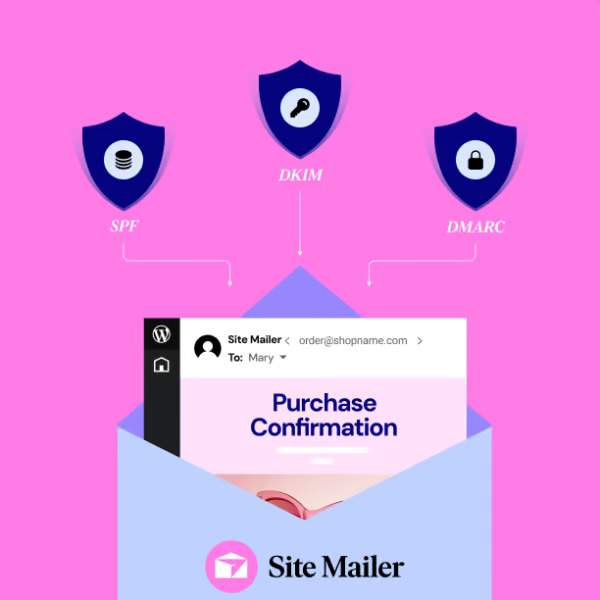
Email authentication protocols help ISPs verify that your emails are truly coming from you. This builds trust and prevents spoofing.
Action Steps:
- SPF (Sender Policy Framework):
Publish an SPF record in your DNS settings to specify which mail servers are authorized to send emails on your behalf.
[Insert Image: Diagram showing how SPF works] - DKIM (DomainKeys Identified Mail):
Implement DKIM by adding a digital signature to your emails, which recipients’ servers can verify with your public DNS key.
[Insert Image: Example of a DKIM signature setup in DNS] - DMARC (Domain-based Message Authentication, Reporting, and Conformance):
Create a DMARC record to instruct ISPs on how to handle emails that fail SPF or DKIM checks, and set up reporting to monitor compliance.
See our full guide on email authentication
4. Send an email asking subscribers to unspam your email
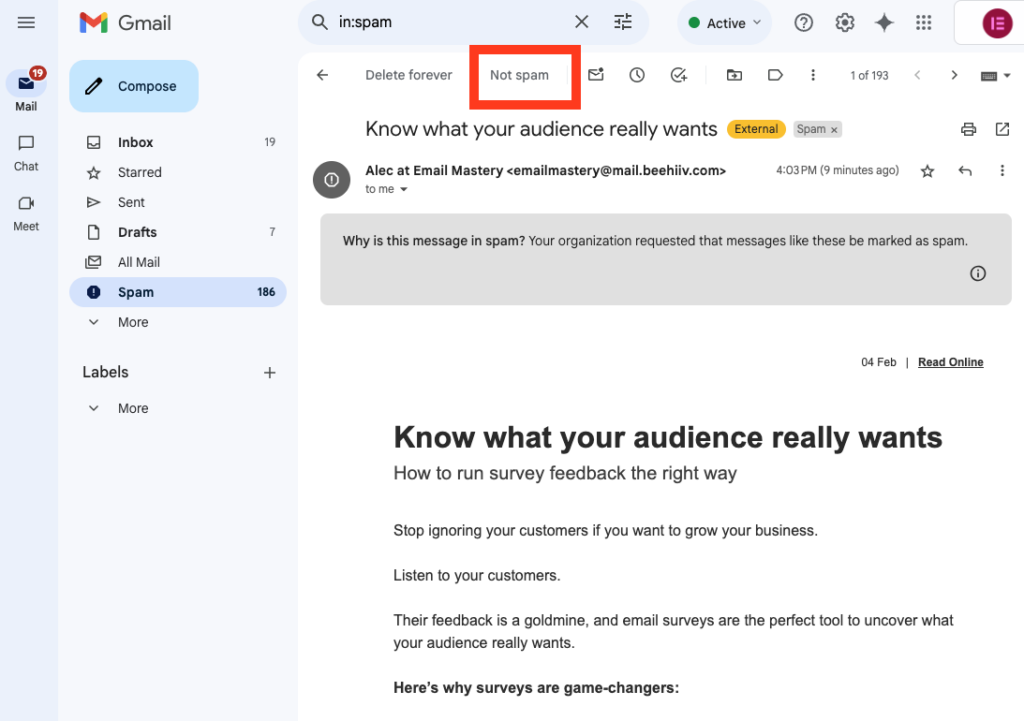
You can send a simple email as part of your onboarding emails, asking your subscribers for help.
In your message, explain that your emails might be misdirected and kindly ask them to check their spam or junk folder.
Include clear, step-by-step instructions—or even a screenshot—on how they can mark your emails as “Not Spam” or add you to their safe sender list. This small action can help ensure that your future emails reach their inbox and improve your overall sender reputation.
5. Adopt a Consistent Sending Schedule
A consistent email schedule builds trust with ISPs and your subscribers. Erratic sending patterns can trigger spam filters.
Action Steps:
- Avoid Volume Spikes:
Gradually scale your email volume rather than sending large bursts sporadically. - Establish a Regular Cadence:
Create a schedule that meets your audience’s expectations—whether it’s weekly, bi-weekly, or monthly.
6. Ensure Your IP Address Isn’t on a Blocklist
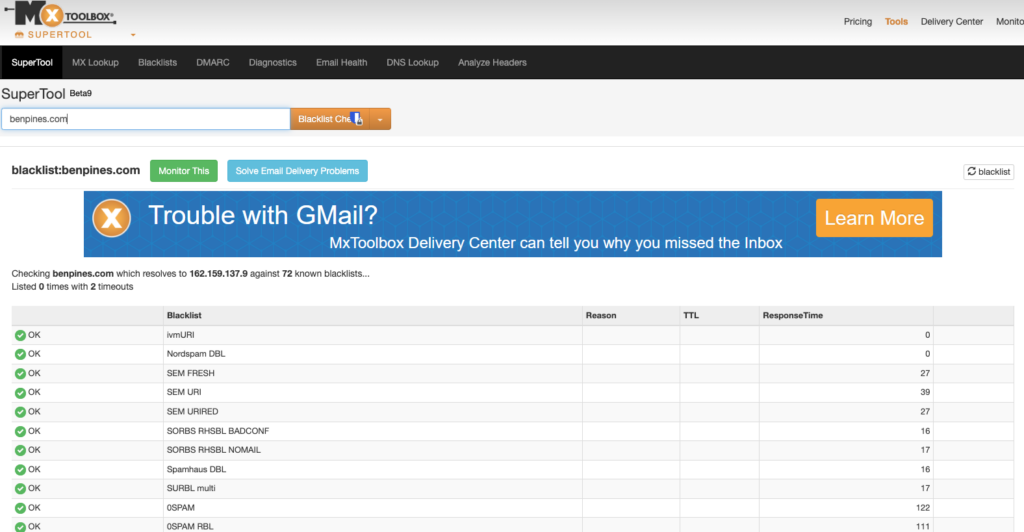
Check to ensure your sending IP address isn’t listed on any blocklists, as being flagged can severely damage your sender reputation and email deliverability.
Start by using online tools such as MXToolbox to scan your IP address across multiple blocklists. If you find that your IP is listed, follow the specific delisting procedures provided by each blacklist.
7. Track sending stats
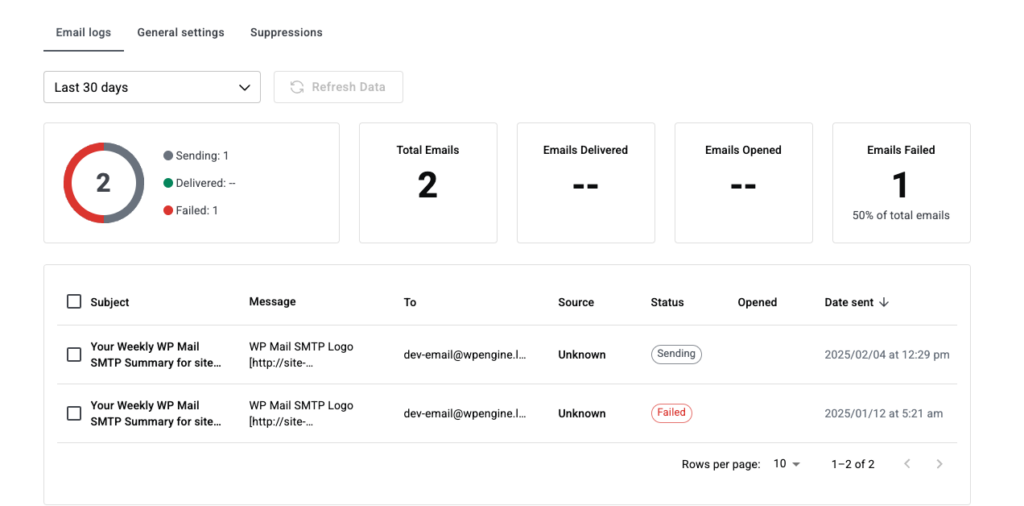
Keeping a close eye on your sending stats is essential to understanding and improving your email campaigns.
Regularly monitor key metrics such as bounce rates, open rates, click-through rates, and spam complaints to get a clear picture of how your emails are performing.
8. Examine if the Problem is Your Shared Server
When you use a shared server, you’re not the only one sending emails from that IP address, which means any missteps by others—like sending spam or violating best practices—can taint your reputation as well.
If you suspect this is the issue, consider using our easy migration process to transfer your domain to Elementor hosting.
9. Practice IP Warming

Use a tool like Warmy.io, in order to establish a solid sending reputation with Internet Service Providers (ISPs).
By automating and managing your IP warming process, Warmy.io allows you to gradually increase your email sending volume in a controlled manner, reducing the risk of being flagged as spam.
Don’t Send from a Personal Gmail Account
Using a personal Gmail account for bulk email campaigns is not only unprofessional—it can also harm your sender reputation.
Instead, use a domain-based email address that aligns with your brand and has proper authentication set up.
With Site Mailer, we’ve built an internal wizard that guides you through the process of setting up a custom domain email.
Conclusion
Your email sender reputation is a critical component of your overall email marketing success. By understanding the factors that influence your reputation and taking proactive steps to monitor and improve it, you can ensure that your emails reach the intended audience and drive engagement.


